How to Prick Out and Transplant Seedlings
Pricking Out Seedlings
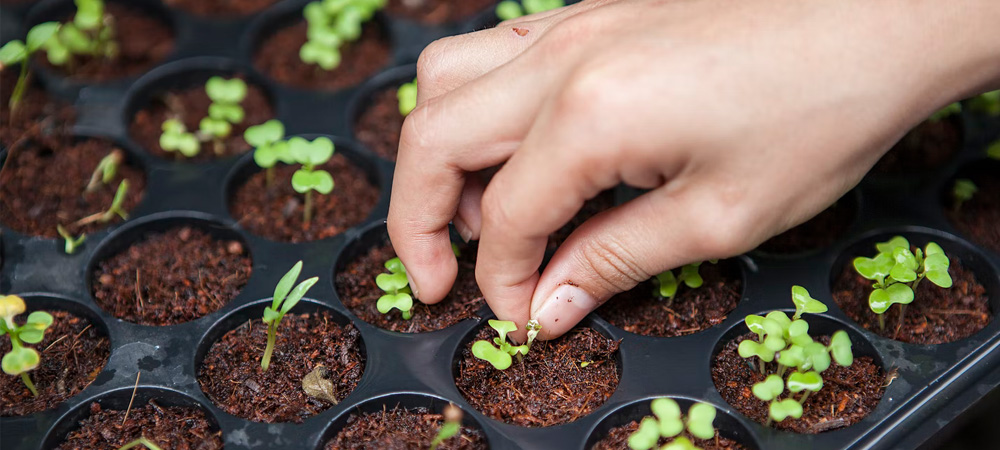
You may wonder what is meant by the term ‘pricking out’. ‘Pricking out’ simply means to separate out those seedlings that are growing together in the same container. Each plant should be transferred into its own pot. Pricking out should be done early in your growing season.
When the seedlings are still tiny but large enough to handle without damage you can transfer them to their own pots by carefully following these steps:
- Fill new plug trays or pots with a high-quality potting mix.
- Make holes in the potting mix with your finger or a pencil.
- Gently remove the seedlings from the tray they were growing in, retaining as much of the original compost as possible around the roots. Ensure you work efficiently and with small numbers of seedlings so the plants don’t dry out during this process.
- Carefully place the seedling into the hole you have made in the potting mix. Allow the roots to fill up the hole you have made and then firm up the soil around the seedling by pressing on it with your fingertips. Bury some of the stem for additional support.
- Gently water the seedlings with a watering can or hose with a rose head. If the water flattens the seedling a bit, do not worry. They will perk up in no time.
Plugs vs Pots
The type of container you choose is dependent on the type of plants you are growing and how soon you will transplant them. Most salad crops do very well with smaller plugs. Larger seedlings will require larger plugs. For plants such as the brassica cabbage family, a larger plug would be beneficial. Vegetables that need to mature a little bit before transplanting, such as onions would also be better suited to a larger plug.
Individual pots are ideal for plants that need to be planted later; after the last frost. Larger seedlings, or those of tender crops like tomatoes or peppers that won’t be planted out until after the last frost, are best pricked out into individual pots.
Preparing Seedlings
Seedlings should be kept moist, but be careful not to water too much. Overwatering may cause nutrients to be leeched from the soil. Be sure to ventilate the space to keep the air moving. Good ventilation and not overwatering will reduce most risk of disease or moulds from occurring.
When the ground is no longer frozen, cold or excessively wet you can begin to plant your cool season crops such as lettuce, onions, beets or peas. If you are not sure, use a thermometer to check the temperature; if it is around 50ºF (10ºC) it will be safe to put your plants in the ground.
A general rule of thumb is to plant outside six weeks after sowing inside but if it is warm enough in your area sometimes you can plant your seedlings three to four weeks after sowing. It is a good idea to check recommended planting dates for your location if you are not sure.
The sooner you can get your plants transplanted outside safely the better. Once plants become root-bound in their containers it can be difficult to move them. Getting your seedlings outside will also free up space in your propagator to start new seedlings. It is usually a good idea to hold a few back in case of unforeseeable circumstances.
Hardening Off Your Plants
Hardening off is a process that is necessary to help plants acclimate to outdoor conditions. Gradually exposing plants to the elements to toughen them up will ensure they don’t succumb to adverse conditions when they are permanently moved outside. To harden off your plants put your plants in a sheltered spot in the garden during the day for an hour or two to start. Over the next couple of weeks extend the time your plants are outside until they are outside for the full day.
A second option is to put your seedlings in a cold frame and gradually increase the amount of ventilation they receive during the day. In this way, your seedlings will be successfully hardened off after about two weeks.
Transplant Seedlings
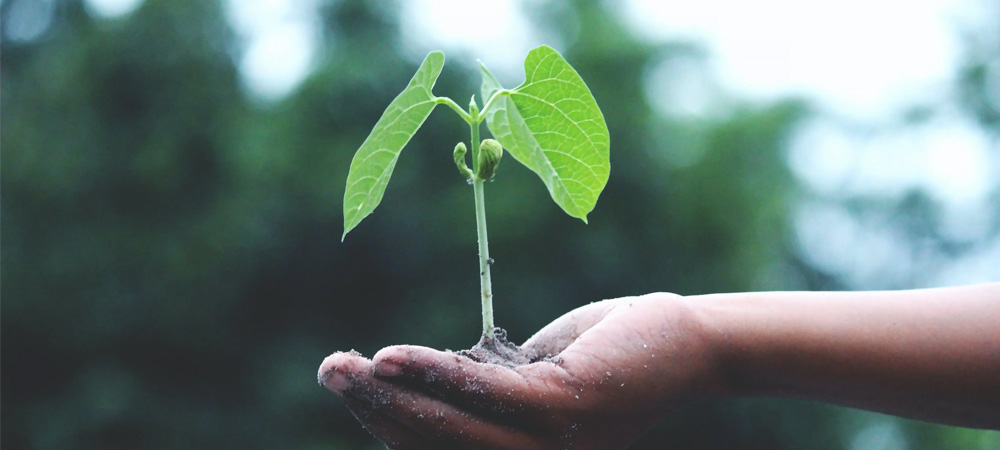
Begin by ensuring you have the most plant-friendly enriched soil. Adding well-rotted organic material such as compost is the first step to successful transplanting.
Dig a hole in the soil deep enough to fit the root ball but not cover the lower leaves. Some people prefer to get their hands dirty and use their fingers to make holes in the soil but small hand trowels are also effective. Don’t forget to give your plants enough space. If you want to be precise about the distance you space out your plants use a ruler.
Carefully take the seedlings out of their containers, handling only the leaves, never the stems. Ensure the root ball is moist. If your plants are dry you can place them in a shallow dish of water before planting.
Drop each plant into a hole you have made and use your fingers to firm the soil around the root ball. Use a rose head watering can to gently water your newly planted plants
Protecting Your Young Plants
New transplants need to be very carefully taken care of to help avoid transplant shock. Roots will need to recover from the move, so ensuring your plants have enough water is the first thing to be aware of. Newly transplanted plants are especially vulnerable to cold and wind so it is important to cover your new seedlings for the first couple of weeks of your growing season, especially at night. Using row cover or horticultural fleece not only helps protect your plants from cold and wind but a covering also shields them from hungry birds or other small animals. Find something heavy to weigh down the edges of your cover so the wind doesn’t blow it off. You can remove the covers once the weather is consistently warm.
Related Articles
Growing Mediums:
- Potting Shed vs Greenhouse
- What is a Greenhouse?
- Potting Shed FAQs
- Propagator
- Grow Bags
- Grow Bags vs Pots
Temperature for Young Plants:
 Author: