Using a Propagator to Grow Seeds
Give your seeds the best start in life using a propagator
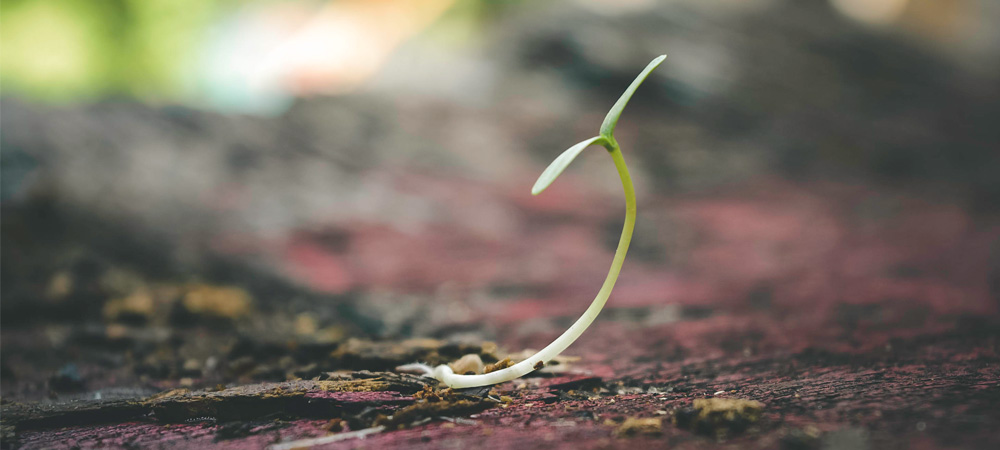
It is such a wonderful and rewarding feeling to see your plants sprouting with life from just a tiny seed. Give your seeds the best chance at growing big and strong by using a propagator. A propagator is a covered and sometimes heated container that can allow you to start your growing season earlier and achieve all of the satisfying rewards of a thriving garden earlier.
Immature seedlings are vulnerable to damage, especially if they experience inconsistent moisture or temperature. Seeds that are sowed in a propagator are at much less at risk of damage and will likely survive and thrive.
You can imagine a propagator as a tiny incubator for seeds. The temperature inside the propagator can be highly controlled so your seedlings will not have to face any temperature spikes or drops. Even if your propagator is not heated, it provides a covered, protected environment for your seedlings to grow.
This comprehensive guide will help you learn how to successfully sow seeds in an unheated propagator. A heated propagator is easier because you can set it to rise to the temperature you require. The temperature in a heated propagator will remain consistent as long as you don’t unplug it or change the settings.
Seed Choices
There are several plants that are easy to grow in an unheated propagator. The following is a list of our top four recommendations:
- Tomatoes
- Runner beans
- Chillies
- Sweet peas.
Avoid Mess With Grow Pockets
If you are growing plants inside and want to avoid the messiness of compost, get yourself some grow pockets. Grow pockets are made from compressed compost. There is a small hole in each of them for your seed. Watering it expands the compost to fit perfectly into your seed tray. No mess!
When To Plant Seeds
When you plant your seeds will depend on the climate you live in, but as a general rule, you can safely plant your seeds indoors about six weeks prior to when you would plant them outdoors, significantly extending your growing season. Some plants (like sweet peas) can be started as early as January!
How to Sow Seeds in a Propagator
1. Preparing the propagator
This process might be a little messy so lay down some newspaper or prepare your trays in an area you don’t mind getting dirty. After filling your tray with compost, take a flat piece of wood such as a ruler and run it over the top to scrape away any excess compost and level the surface. Gently tamp down the compost.
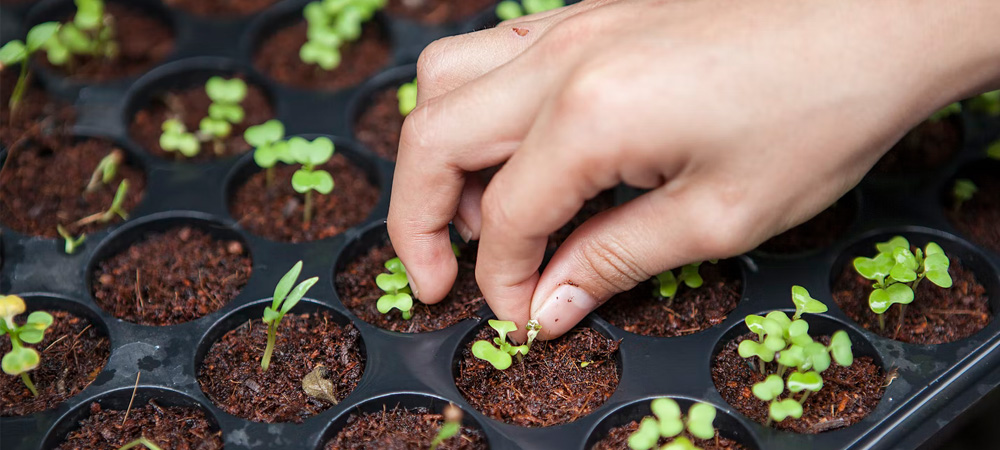
2. Planting your seeds
Read the seed package carefully for full instructions on how to sow your seeds. Depending on the type of seed, you may be required to sprinkle them on the surface of the compost or individually press them into the compost. The package will also tell you how far apart to plant the seeds. You may have to add a bit of compost after planting to ensure your seeds are at the correct depth.
3. Label your trays
Many a gardener has been frustrated when they don’t remember which plants they planted in which container. If you are planting more than one type of seed, it will save you many headaches if you label your seed trays immediately.
4. Water the seeds
It is crucial to water the seeds gently so they don’t get washed out. There are two ways to do this. One is to use a watering can with a rose head. Secondly, you can stand your seed tray in shallow water.
5. Find a warm spot
Choose a warm spot for your propagator but avoid direct sunlight. If you put your propagator on a sunny windowsill, remember to regularly turn the seedlings so they don’t become spindly.
Check the seed package to determine if your seeds need to be soaked before planting.
How Many Seeds Can You Plant?
It may seem like the more seeds you plant the more plants you will have, but this is not the case. Often, overcrowding seeds will kill them and even if they do germinate successfully competition from a heavily crowded environment will cause them to grow sparsely or not at all. To sum up: sow seeds sparingly.
Damping-off is a nasty fungal disease that you will want to protect your plants from. To help avoid damping-off give your seeds plenty of room, provide adequate air circulation, and sow your seeds in clean containers using only new compost.
If you have more than one plant germinating in a container pull out the smaller one so that the plants you do grow can have the space they need to thrive.
Use seeding compost (not regular compost) in your propagator. Seeding compost will provide the perfect texture for your young seedlings.
Ongoing Care
It is simple to care for seedlings in a propagator. You only need to focus on these three key components:
- Ensure your seeds have enough light.
- Ensure your seedlings have enough water.
- Ensure your seedlings don’t get too cold or hot.
Light
You can ensure that your seeds are getting the ideal amount of light by placing your propagator in a spot that receives many hours of natural sunlight. Regularly rotating your trays will prevent seedlings from growing towards the light.
Moisture
Ensure the compost is moist but not overly saturated. Excessive moisture could cause rotting or fungus. Leave your plants to dry between waterings.
Check your propagator to see if it has a wetting mat. This mat allows the root system to draw up water when needed.
Check your plants daily. If you notice the compost is completely dry, use a rose head watering can to gently give your seeds some water.
Temperature
Your seedlings should be kept warm and away from drafts. The ideal temperature for your young seedlings will be between 18 and 25 degrees. Your seed packet will tell you a more specific temperature depending on what you are growing. You can place a thermometer into the compost to check the exact temperature.
Moving Seeds Outside
Keep a close eye on your seedlings; when they are mature and strong enough it is time to transplant them into their home outdoors.
Related Guides:
Growing Mediums & Locations
- Beginners Allotment Guide
- Beginners Greenhouse Guide
- What is a Greenhouse
- Potting Shed vs Greenhouse
- Grow Bags
- Grow Bags vs Pots
 Author: